How To Make A New Release
Bugsmirror MASST enables seamless creation and deployment of new application releases. With MASST, you can configure security settings, enable or disable features, and generate a release-ready build efficiently.
This guide walks you through the step-by-step process of creating a new release.
Step 1: Initiate a New Release
- Go to the portal: MASST Portal.
- Click on
+ New Releasebutton.

Step 2: Select Application
- Choose the application for which you want to create a release from the list.
- To onboard a new application, click on
+ Add App.
Refer to: Add a New Application
- Click
Next
Step 3: Select features
Choose features to apply to your release.
-
If you want to enable all features, click on
Select All. -
Or select specific features based on your requirements. Credit cost is written below every feature.
-
CodeLock is for static code scanners that use advanced static analysis techniques to detect static security vulnerabilities. Get the report within 2-3 hours, depending on cue size.
-
RunLock evaluates the app’s security posture under dynamic attack scenarios. Get the report within 24 business hours.
-
APILock detects hidden endpoints, authentication flaws and information disclosure vulnerabilities. Get the report within 24 business hours.
-
Bugsmirror Defender is an app shielding solution providing runtime security from more than 200+ runtime threats.
-
Trust API Bind attach every API request with a unique token which is verified by client-side server, make sure that API request is generated by a genuine application shield by Bugsmirror Defender.
-
-
Click
Next
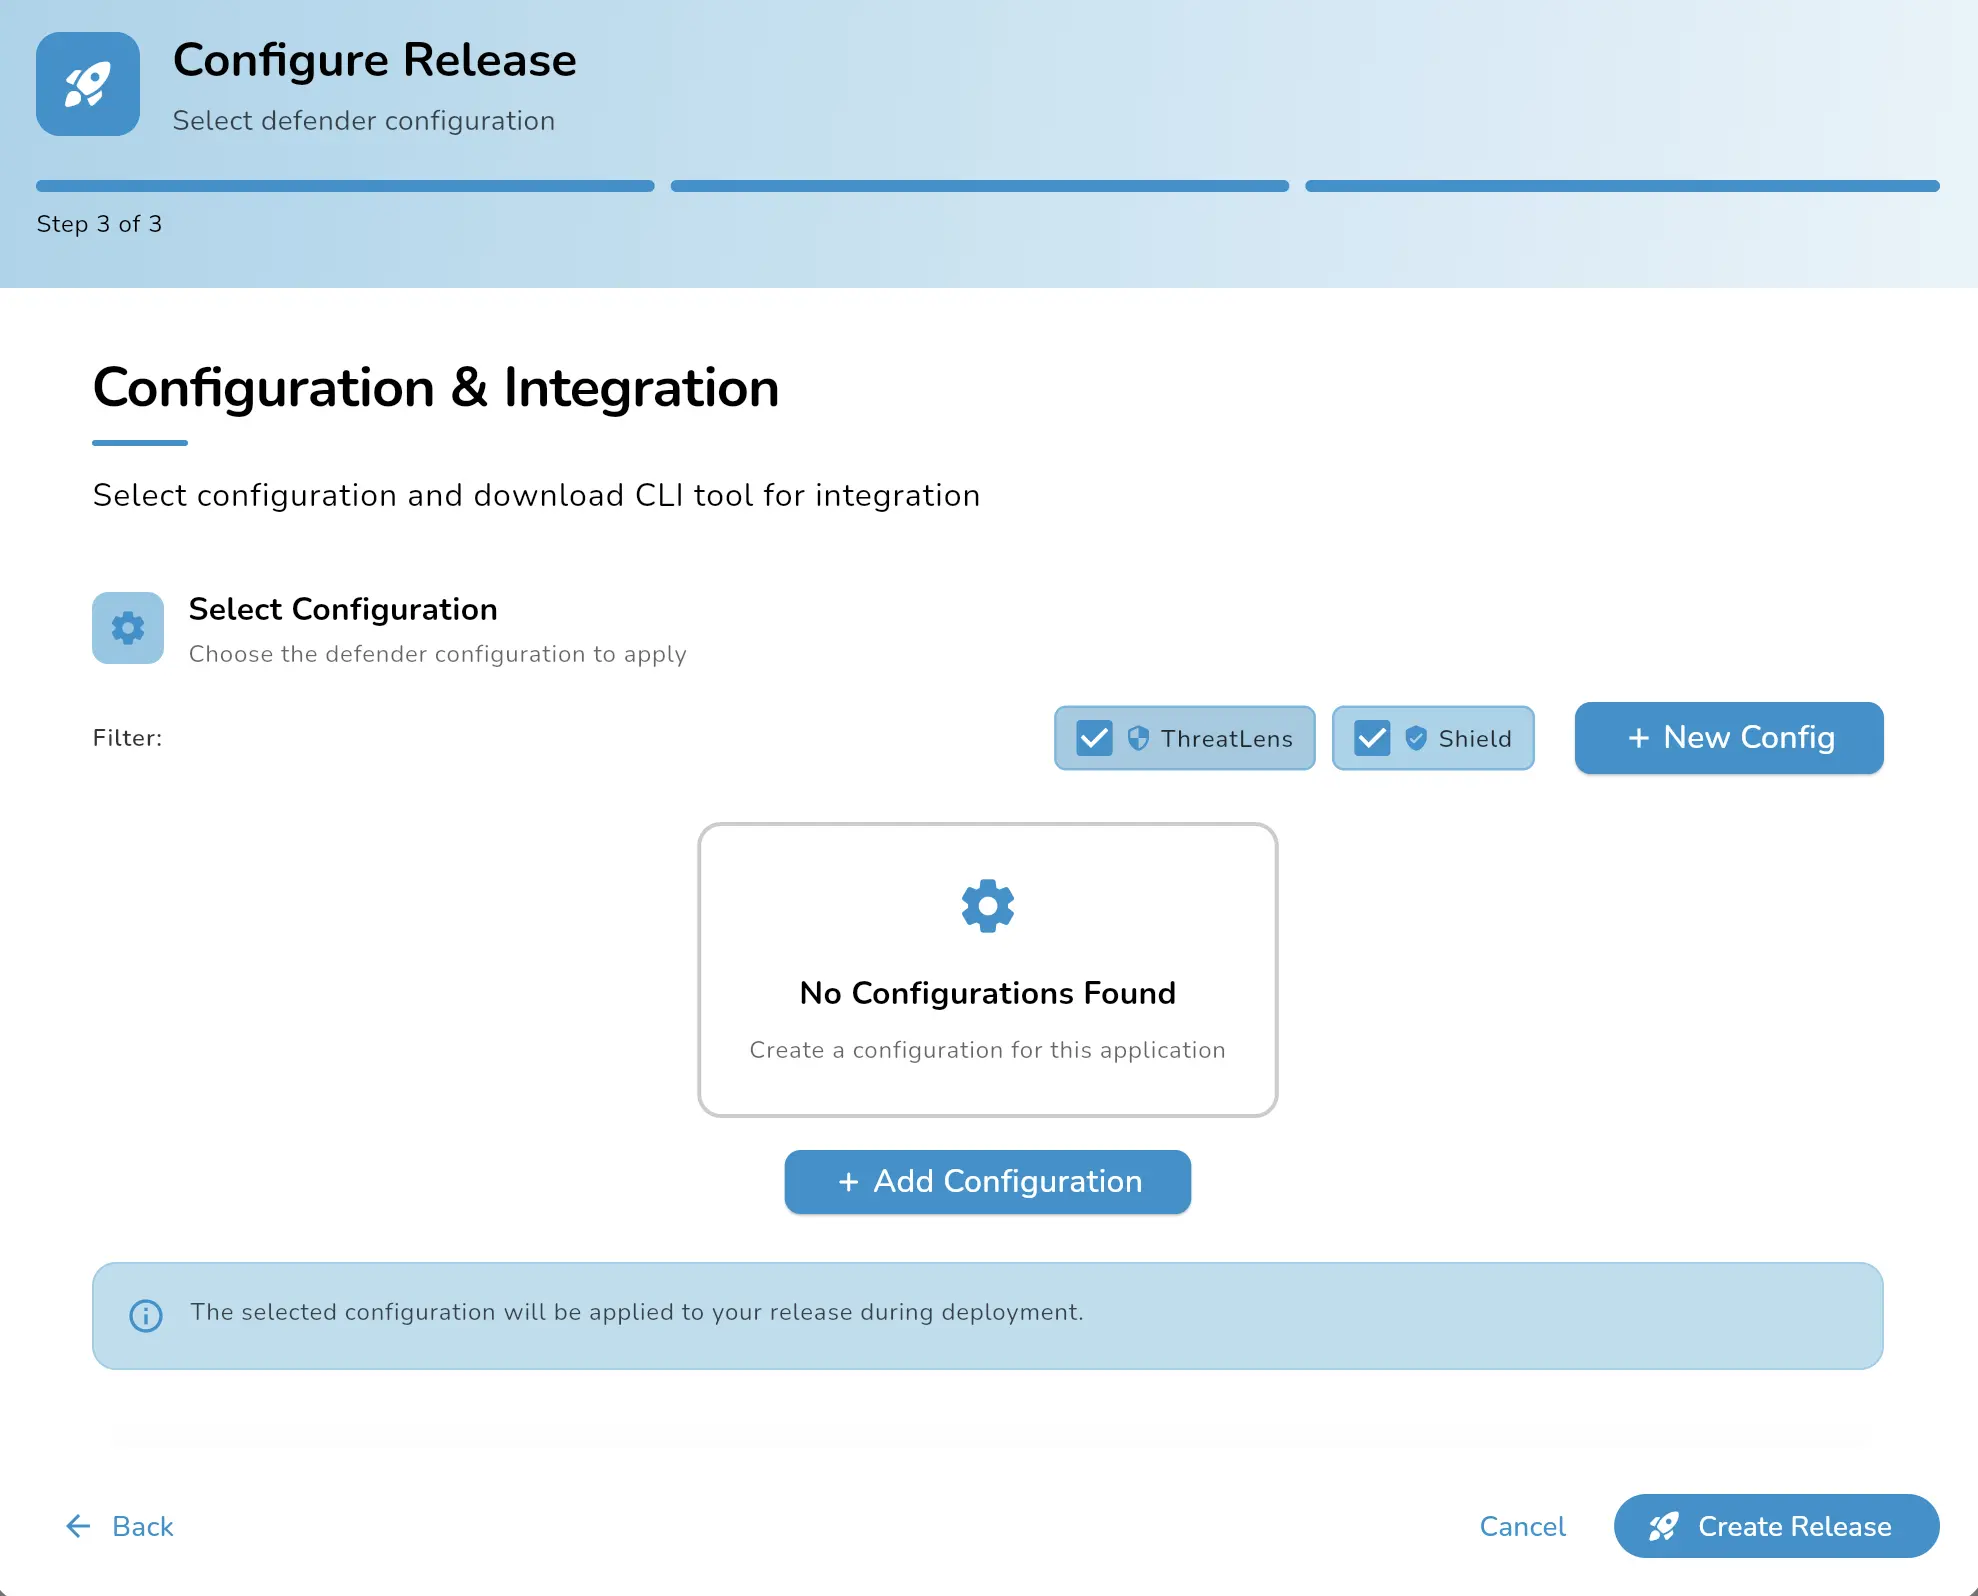
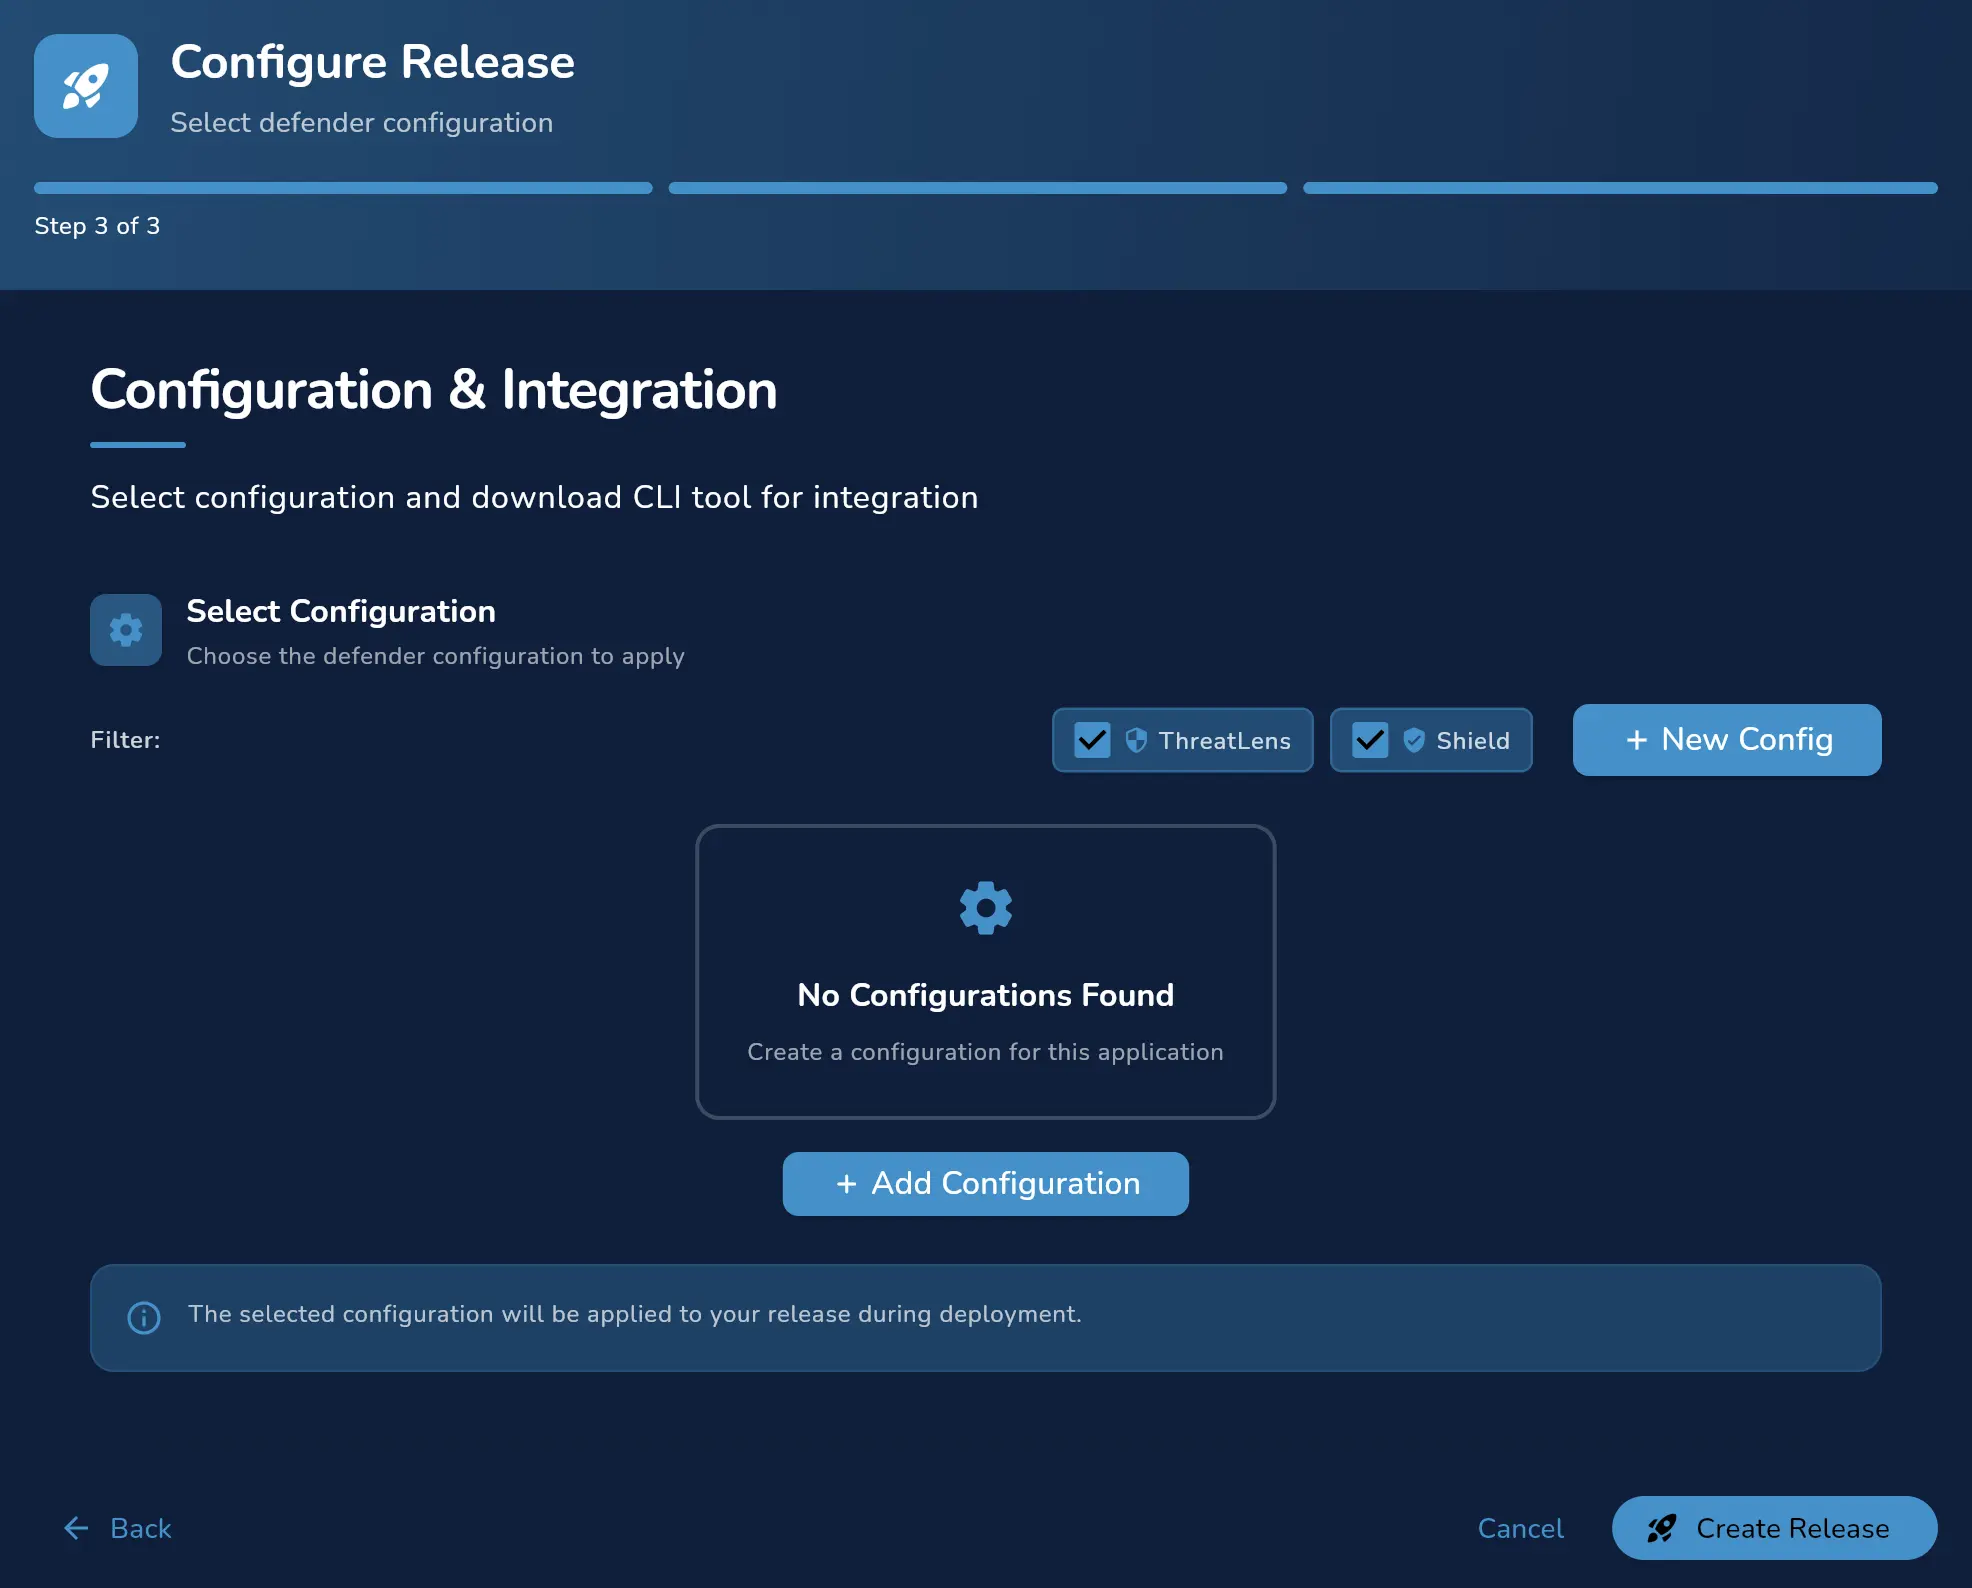
Step 4: Configuration & Integration
- Choose an existing configuration or create a new config file
+ New Config. - Configurations define how selected features are applied to the application.
Refer to: Create a New Configuration
Step 5: APILock credentials and SSL settings
Skip this step if APILock is not enabled.
When APILock is enabled, an additional security configuration panel will appear.
Authentication Options
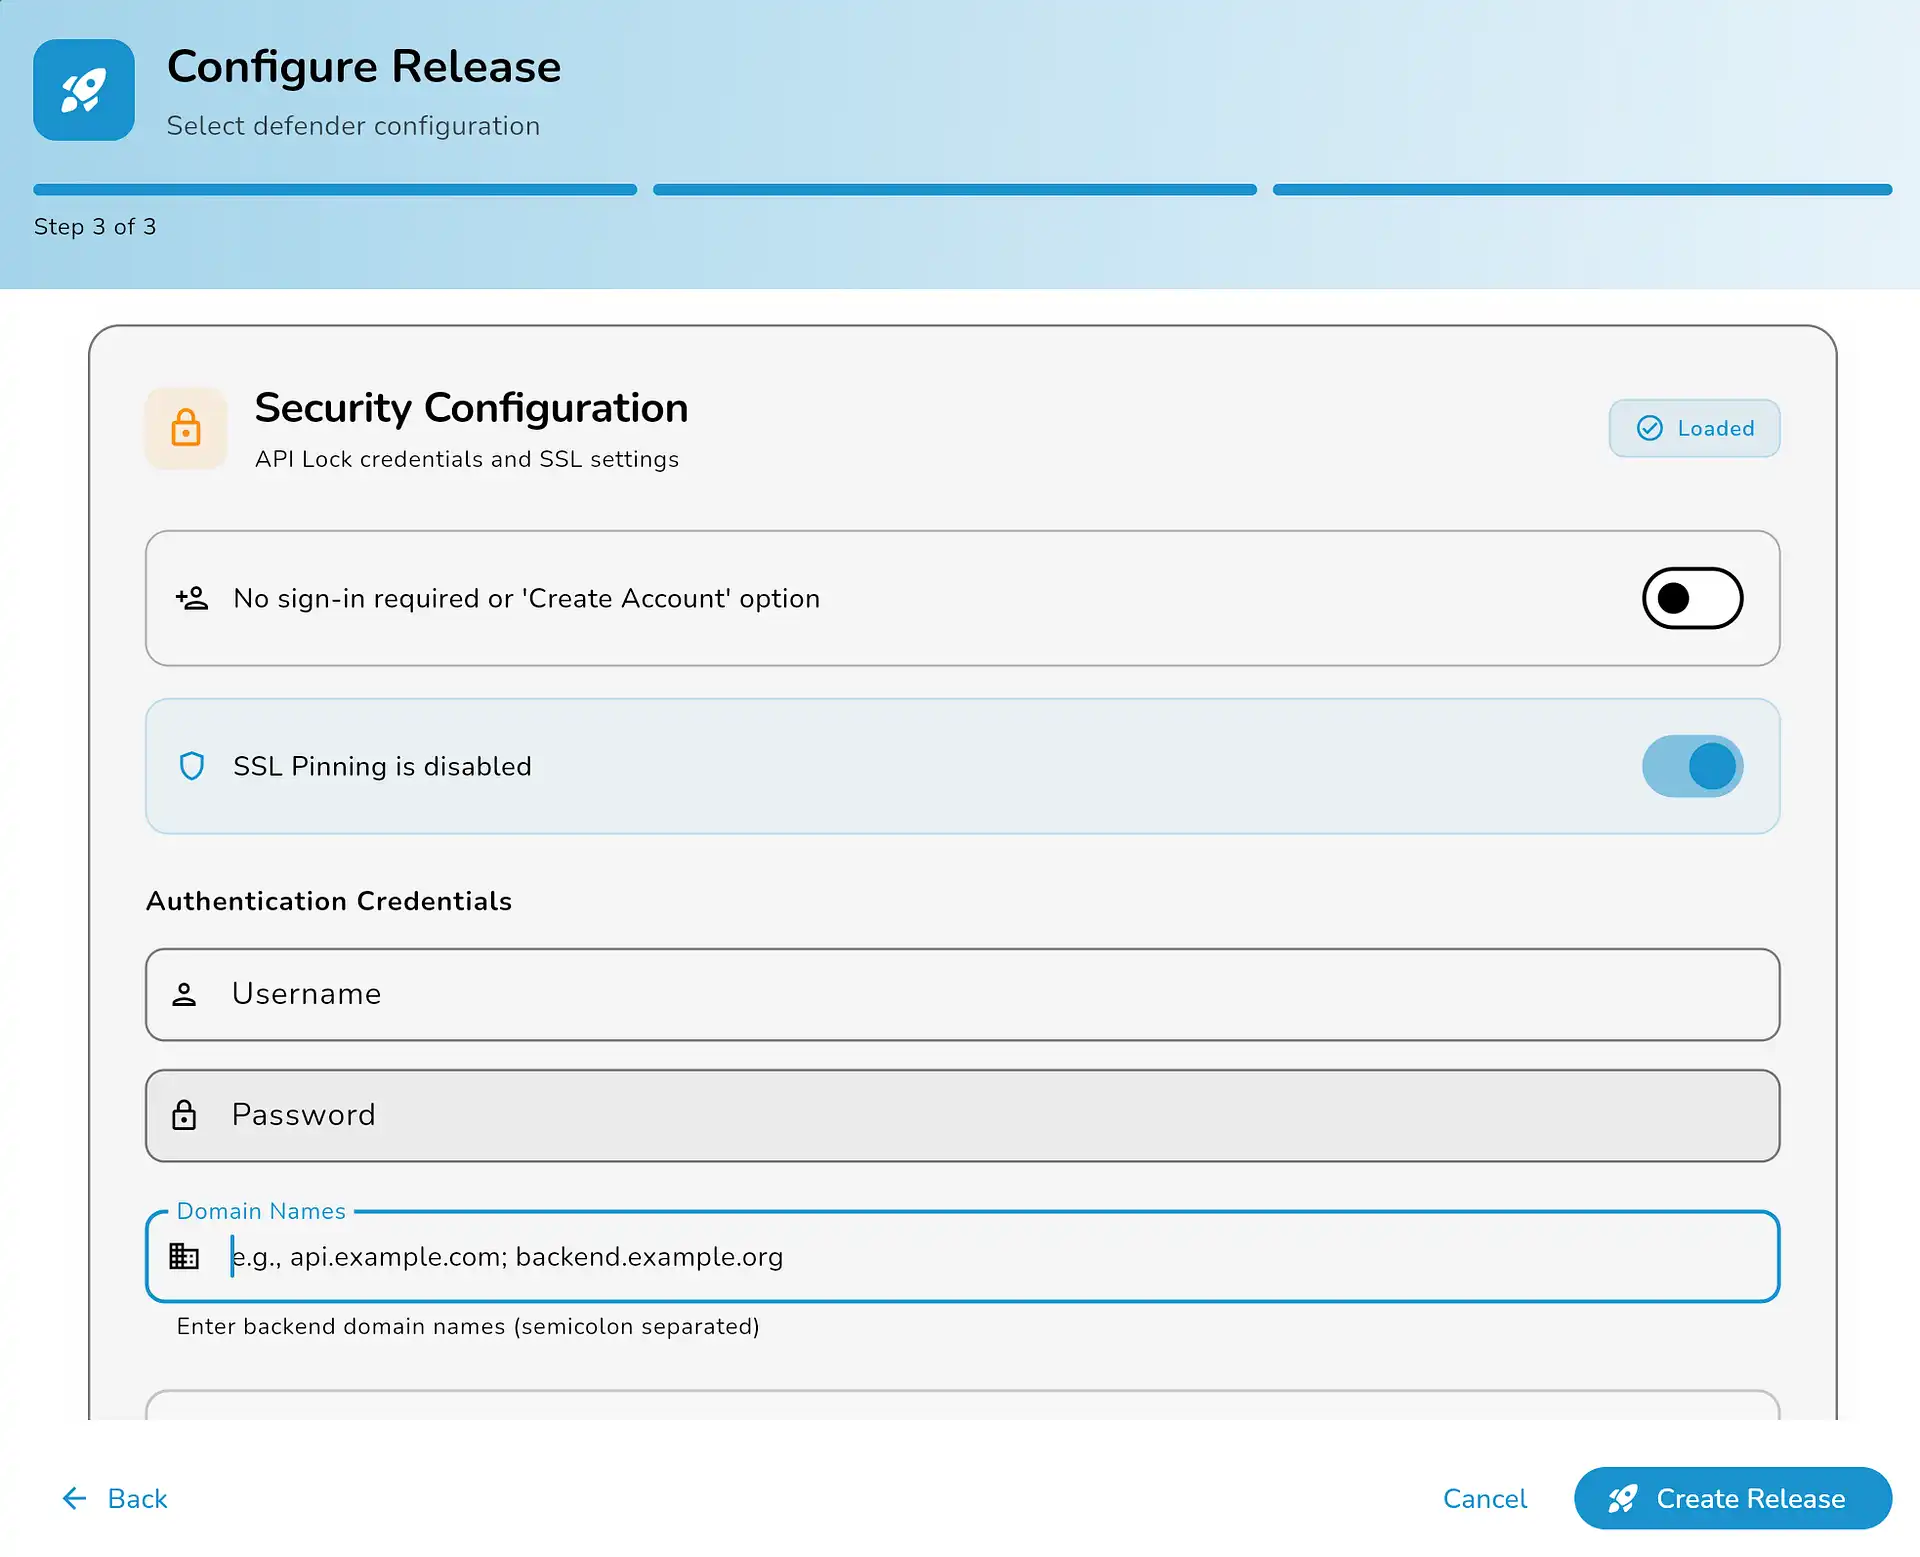
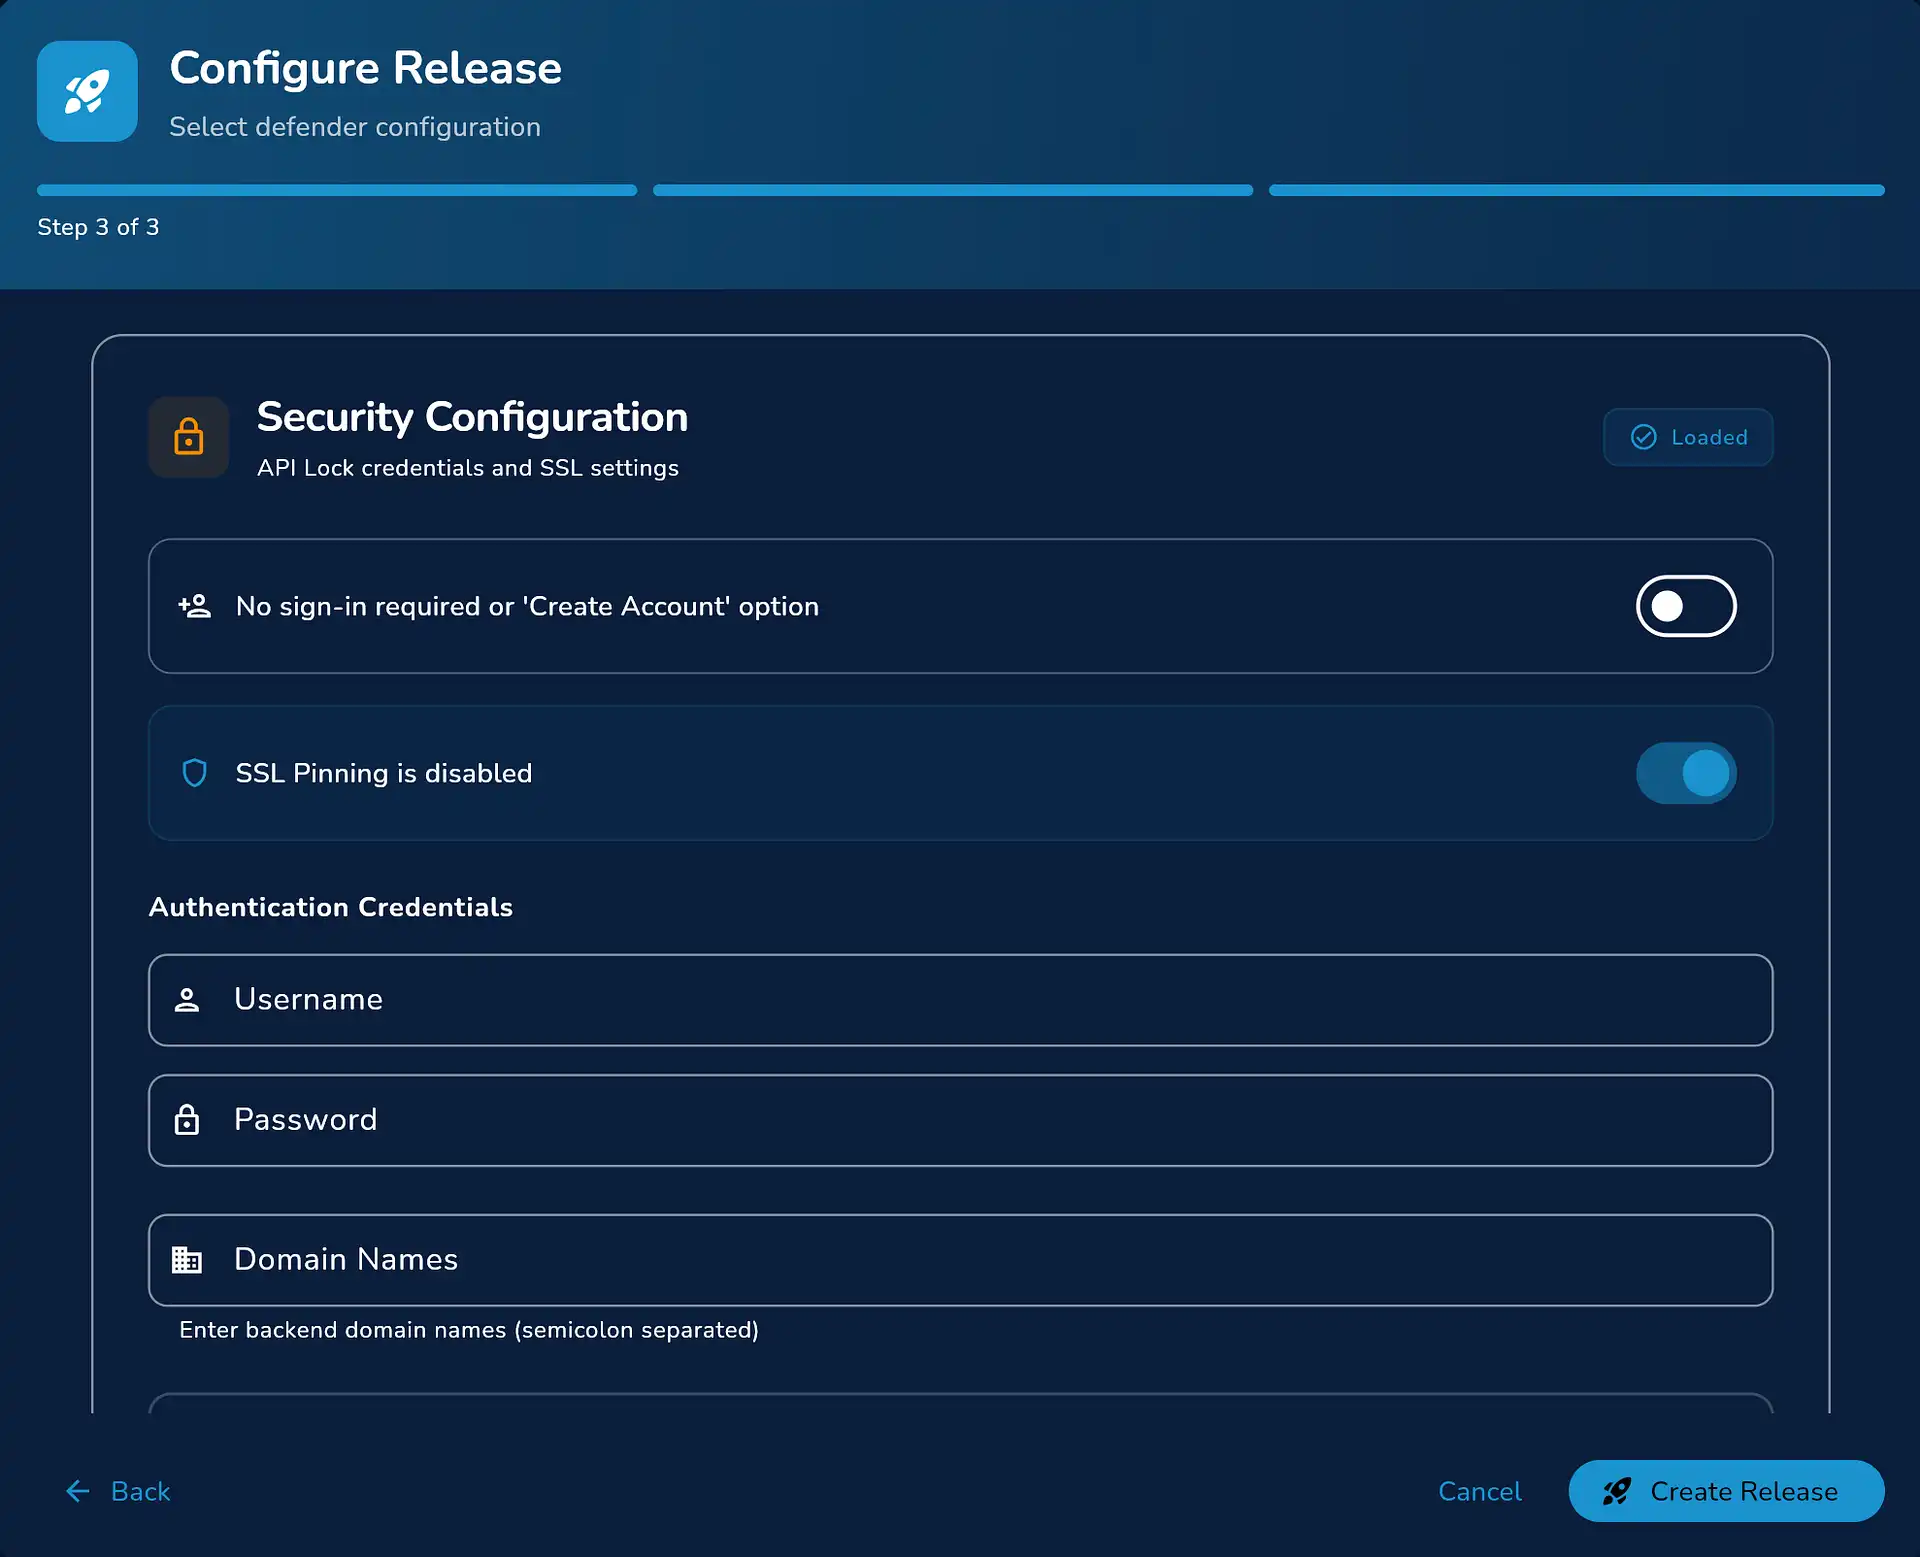
As we interact with the app to capture and analyze these APIs to test them. We require the following details:
- Domain
- No sign-in required or
Create Accountoption: Enable this if a ‘create your account’ option is possible within the application.
Or
-
Provide Login Credentials: Provide the following details so the application can be logged into and run to capture APIs:
- Login ID.
- Password.
- Domains.
-
Update Credentials on Release: Enable this will update the login credentials when you create the release.
SSL Pinning Configuration
Disable SSL pinning when enabling APILock to allow API traffic inspection.
- MASST Defender enforces SSL pinning at runtime.
- Disabling it here will not compromise overall API security.
Additional Settings
- Enter the Domain Name.
- Enable Update Credentials on Release Enable if required.
Step 6: Download & Install CLI Tool
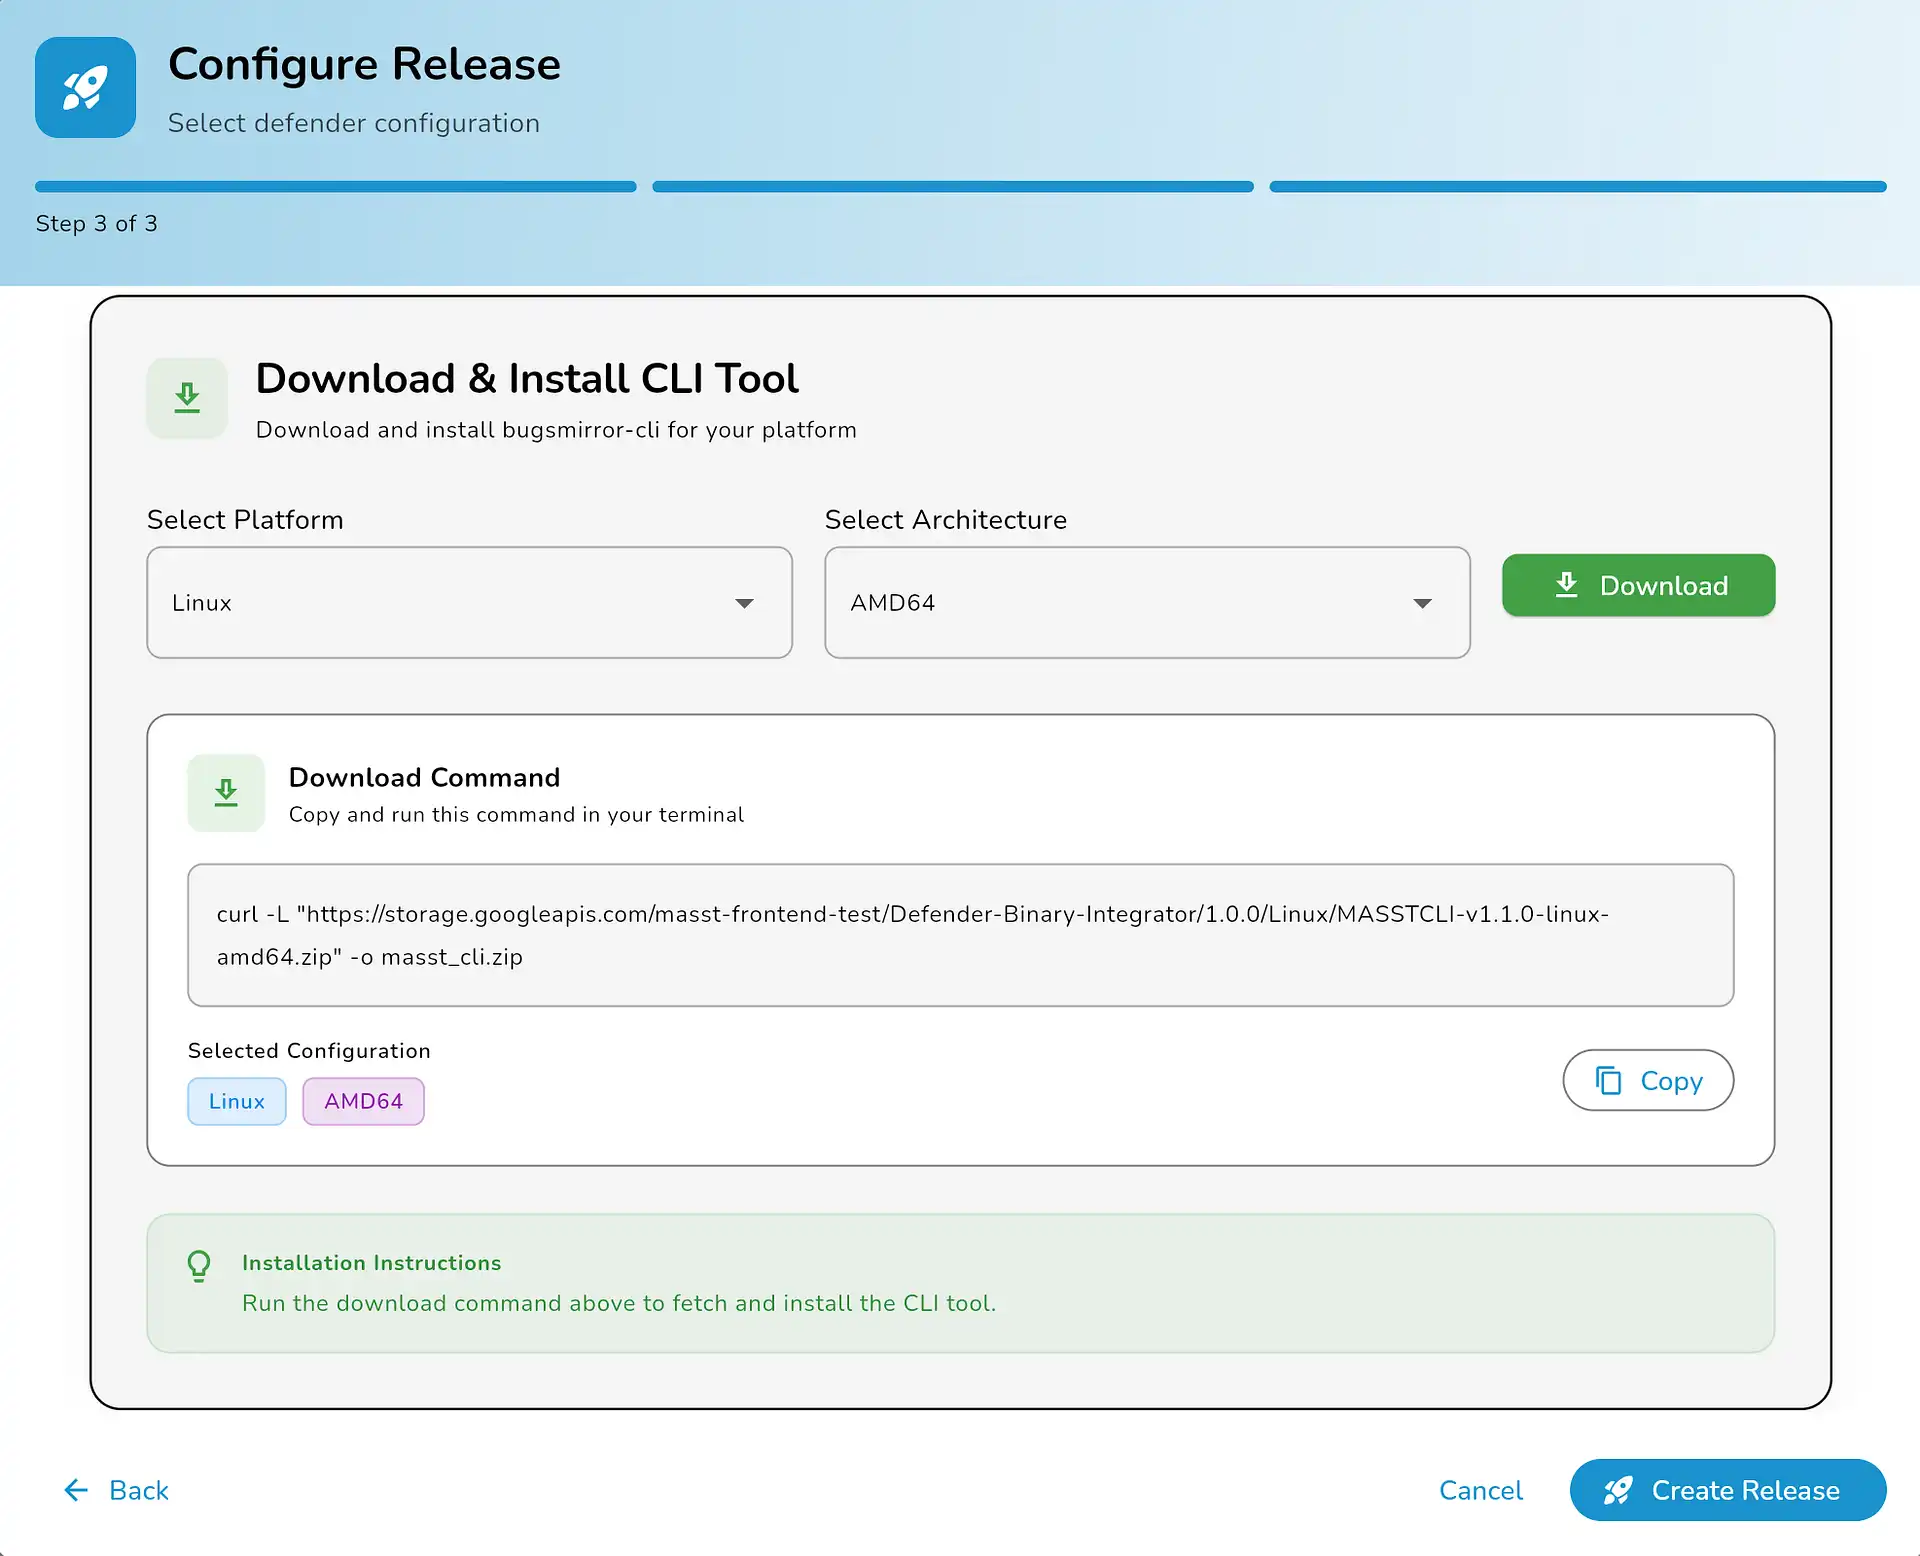
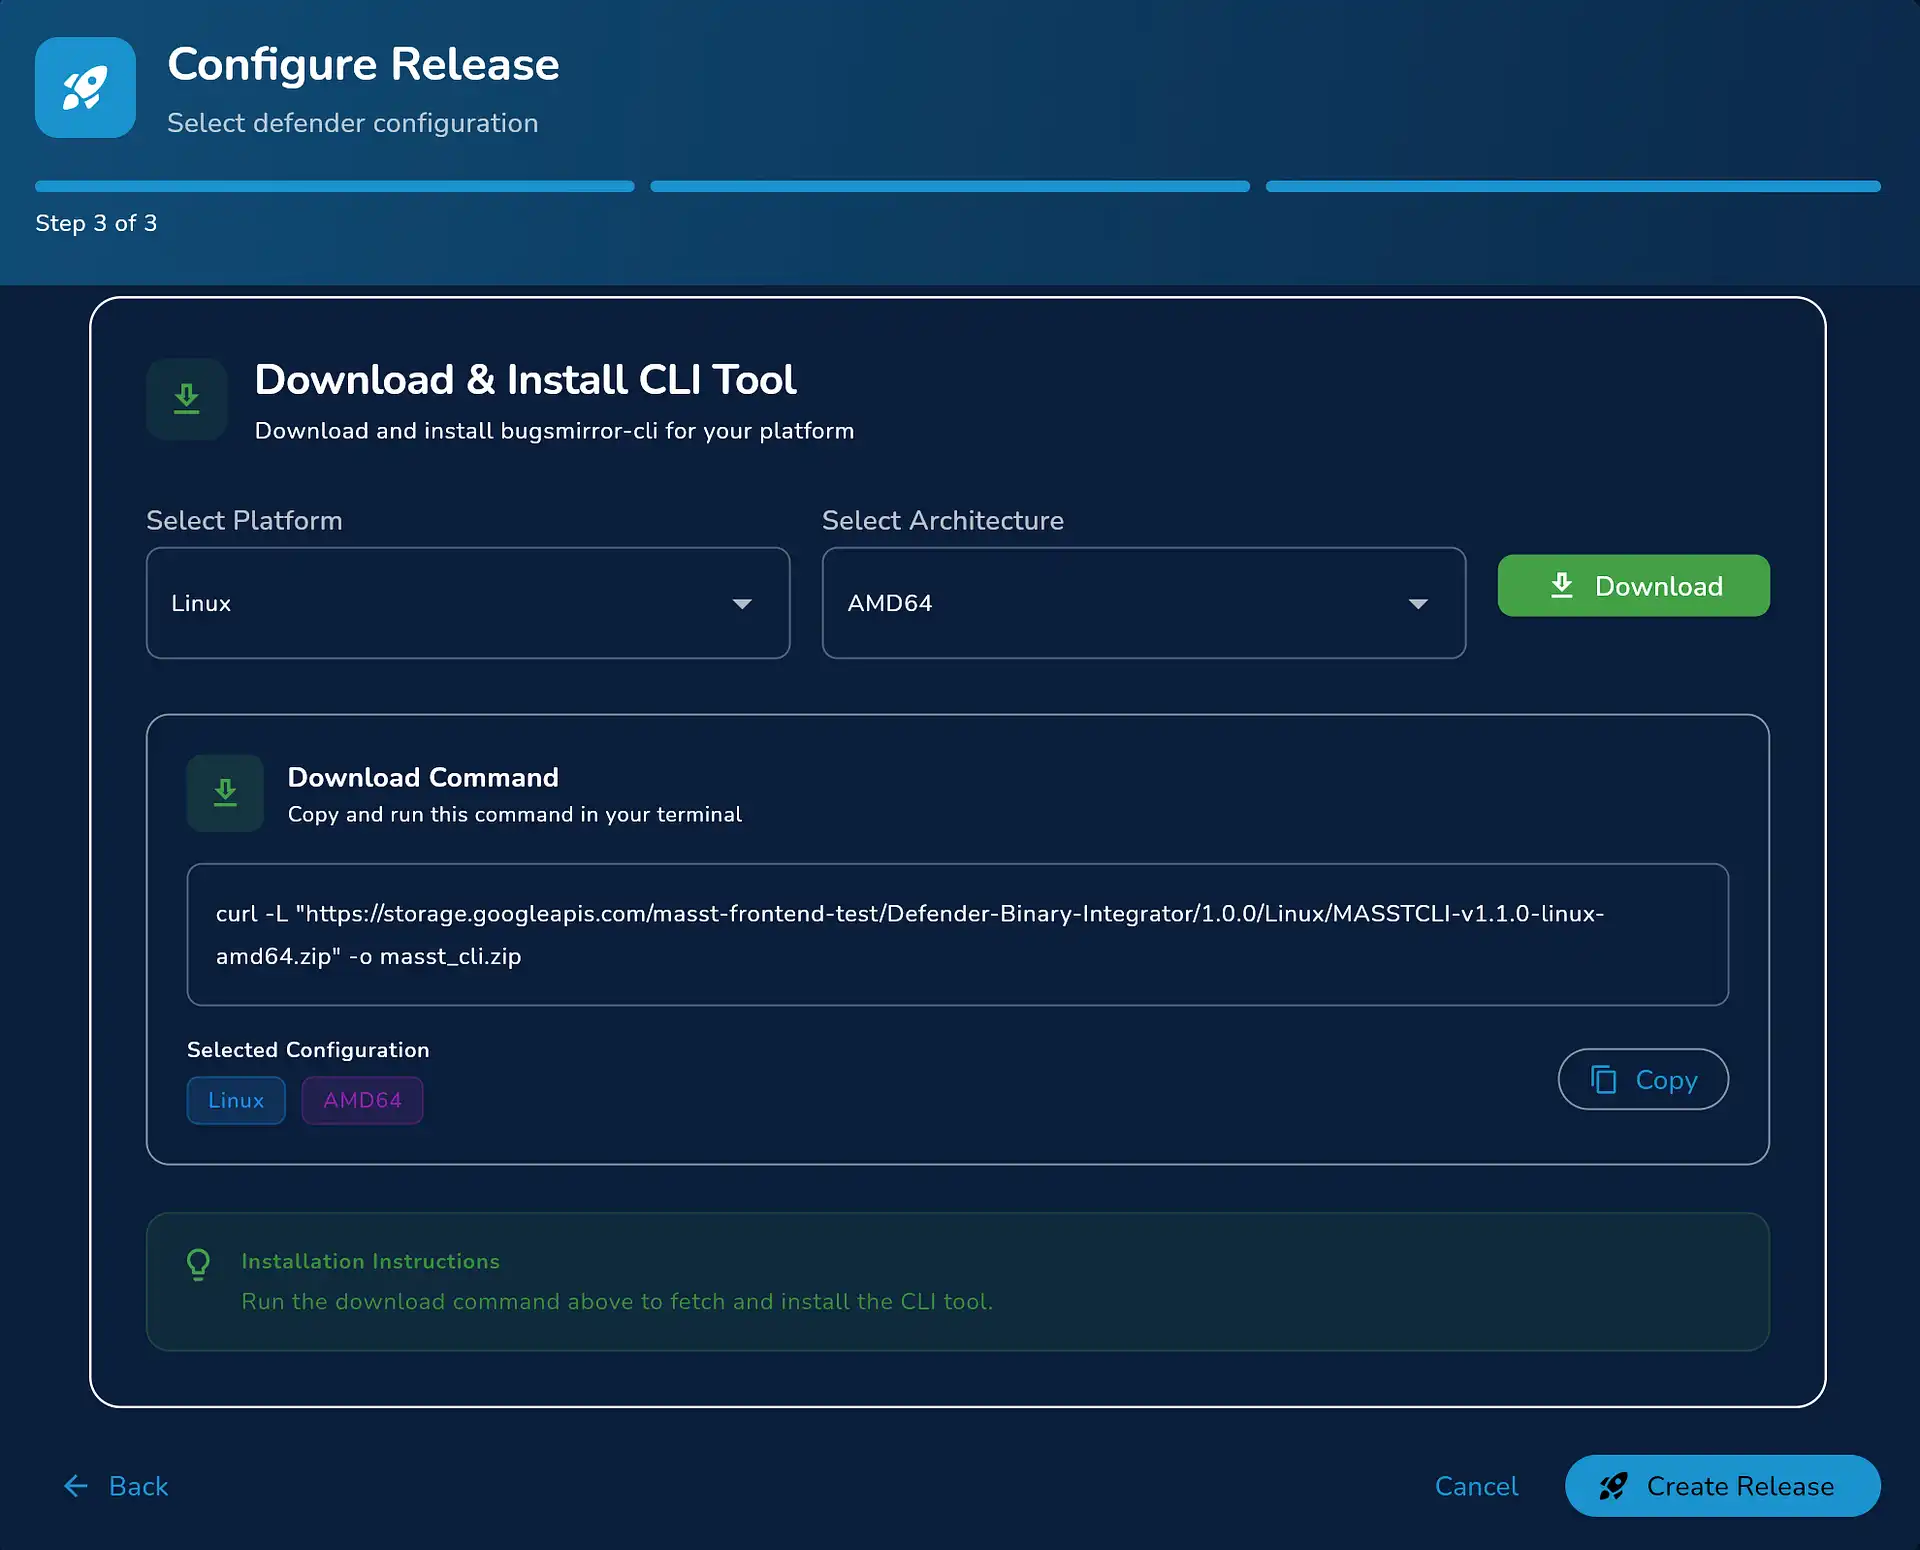
MASST requires a CLI tool to integrate the release configuration into your application.
Option 1: Manual Download
- Select:
- Platform (Linux, macOS, Windows).
- Architecture (amd64, arm64, etc.).
- Download the CLI package (this may require a certain permissions, thus second option, copying the curl command on the terminal is easier).
Option 2: Download via Command Line
- Run the curl-L command in your terminal, (a MASST_cli folder will download on your device).
- The curl command is available in the MASST portal, when you make a new release. masst.bugsmirror.com.
Step 7: Create Release
- After completing all configurations, proceed to create the release.
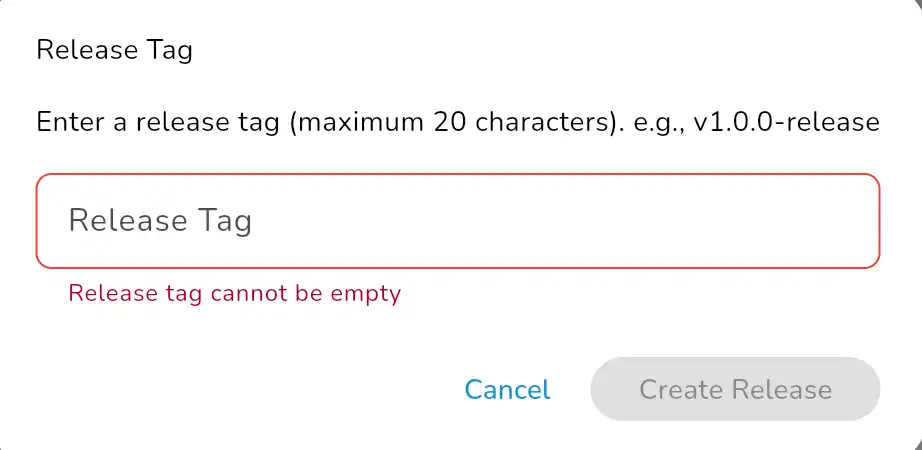
- On clicking on
Create Releasea pop up will appear. - Put the release tag (e.g., v1.0.0-release). Release tag is a unique name to the release. This is a helpful feature to recognize the release with specific features enabled and this config can be used again if needed from the history tab.
- On giving a release tag. Click on create release.
- The MASST configuration file will be automatically downloaded to your system.
- If the configuration file is not downloaded on your device, first check whether downloads are disabled in your device settings. Enable downloads if they are turned off.
- Also, ensure that browser pop-ups or auto-download permissions are not blocked. Some devices or browsers restrict automatic downloads or require user confirmation via pop-ups. Allow pop-ups and enable auto-downloads, then try downloading the file again.
- Past release files are available in the Release tab of the dashboard.
- Each downloaded release file is valid for one-time use only, so a new release file must be generated every time.
- If your release file is not downloaded automatically, you can download it from the Release tab.
- If a release is created by mistake or contains incorrect or incomplete configurations, you can revoke it from the Release tab. Upon revocation, the credits will be returned to your account.
- Credits remain hold until the release file is consumed after integration. Once you integrate your application with the release file, and integration is completed successfully, the credits will be consumed.
- Once the release file is integrated, the Download and Revoke options will no longer be available for that file.
Step 8: Integrate Defender
- After clicking
create release, amasst_config.bmfile will be downloaded on your device. - Now, you have two files:
masst_config.bm- Masst_cli (by running curl command).
- Masst_cli tool helps integrating the app’s aab file and Defender.
- The integration steps are available in the MASST portal (Bugsmirror Defender tab).